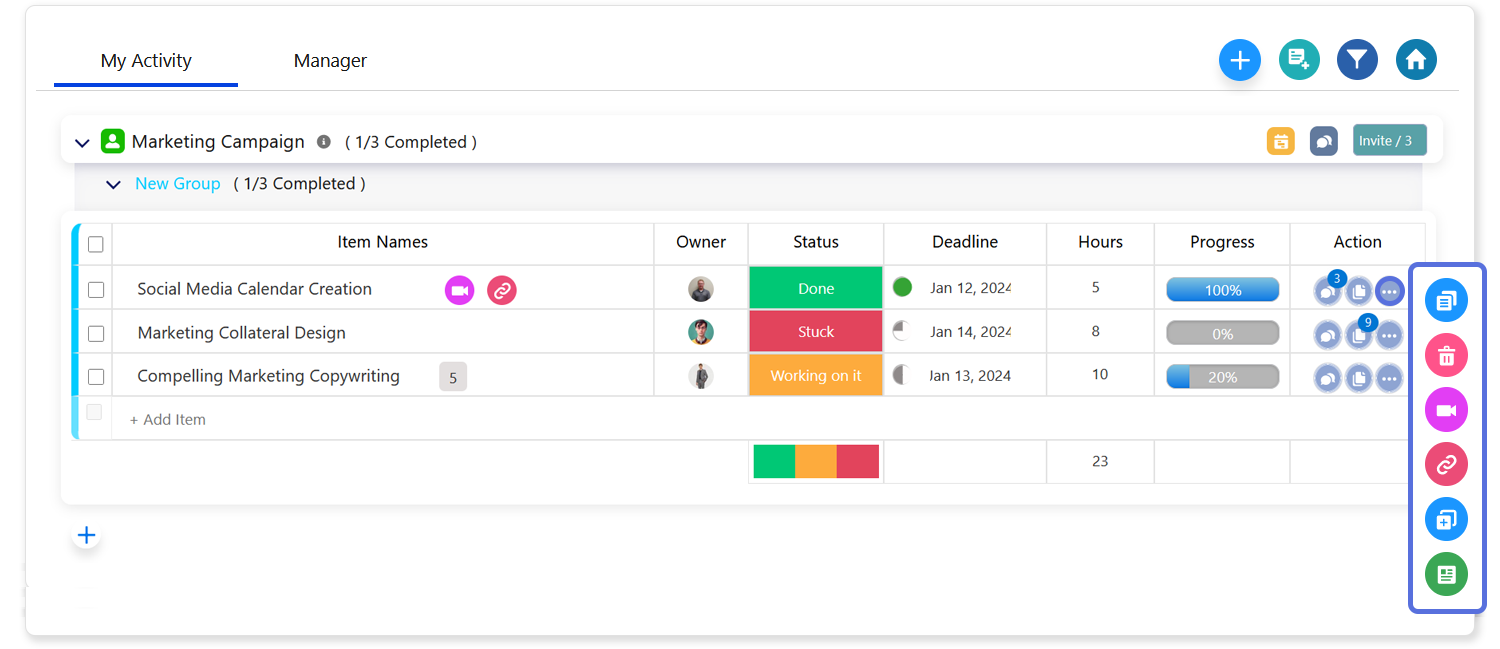
Boards Groups and Items
HUB
OKR
- Create OKR
- OKR without KR
- Create Milestone Key Result
- Create Sobject Key Result
- Sample Sobject
- Sample KPI Filters
- Create Split Target for Key Results
- Create Linked OKR Key Result
- Create Link KR Key Result
- Team Access Only OKRs
- Private OKRs
- Strategic Pillar
- Create KPI Key Result
- Create Report Key Result
- Edit/View OKR
- Add Contributors for Key Results
- Clone OKR
- Clone Key Result
- Close OKR & Add Review Score
- Pause and Unpause OKR
- Save OKR as a Template
- OKR Weights
- Links to OKRs
Board with OKRs
Create OKR from Template
Update Key Result
Hierarchy & Heatmap
KPI
Scorecard
Contest
Recognition
Boards
Funnel
Others
- OKR Reports
- OKRify Dashboards
- Create Teams and Team Members
- Create Periods
- Settings
- Setup Email Notification
- Update Email Template – Key Result Overdue Notifications
- Create New Salesforce Report
- Create new Salesforce Dashboard
- How to search for Tags
- View risk and progress for Objectives and Key Results
- Notifications for Overdue Key Results
- OKR Buttons for Related Objects
- Add an Object as a custom field on OKR
Groups help to organize tasks within a board. Each group ‘s color can be customized for easily differentiating tasks from different group.
Groups are easily to create, rename, reorder within the board.
Add a new group
By default, each board will have at least one group which will be created automatically when a new board is created. You can add as many groups as needed.
To add a group, click the blue ![]() button located at the bottom of your board, and a pop-up will appear. In the pop-up, choose the color for the group, then click 'Add.' The new group will appear at the top of your board, where you can easily rename and edit it as needed."
button located at the bottom of your board, and a pop-up will appear. In the pop-up, choose the color for the group, then click 'Add.' The new group will appear at the top of your board, where you can easily rename and edit it as needed."
Group menus
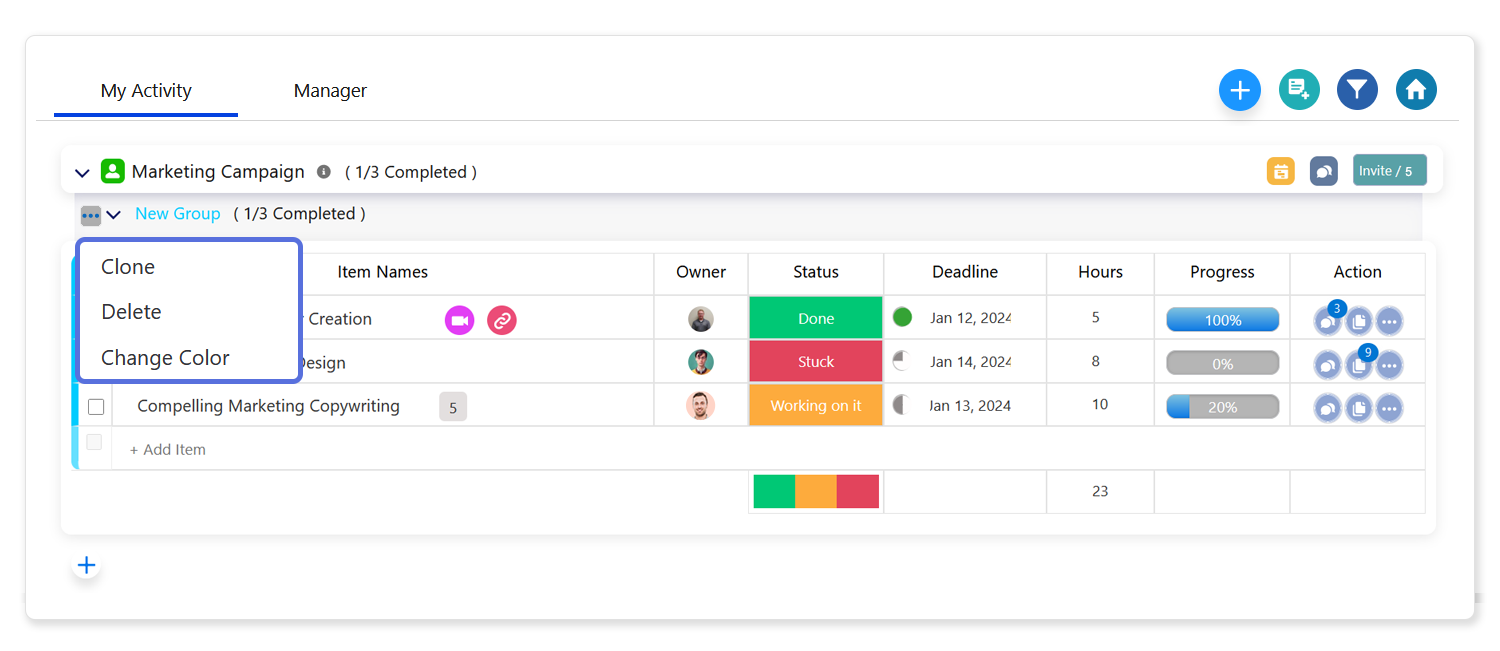
Explore the functionalities of the Group Menu by hovering over your group name. Click the three-dot menu at the left corner to access options like cloning, deleting, and changing the group color.
Clone:
- Duplicate the group and its contents.
Delete:
- Remove the entire group and its contents.
Change Color:
- Personalize the group color for visual organization
Group order
Within the board, you can change the order of groups effortlessly by dragging and dropping, arranging them in the desired sequence.

Items
An item represents an individual row within a group on the board. Boards are comprised of these groups of items, and what an item contains is entirely up to you, tailored to the specific purpose of your board. Whether it's a list of projects, weekly tasks, or any other aspect that suits your workflow, items provide the flexibility to adapt.
How to Add Items and Sub-items:
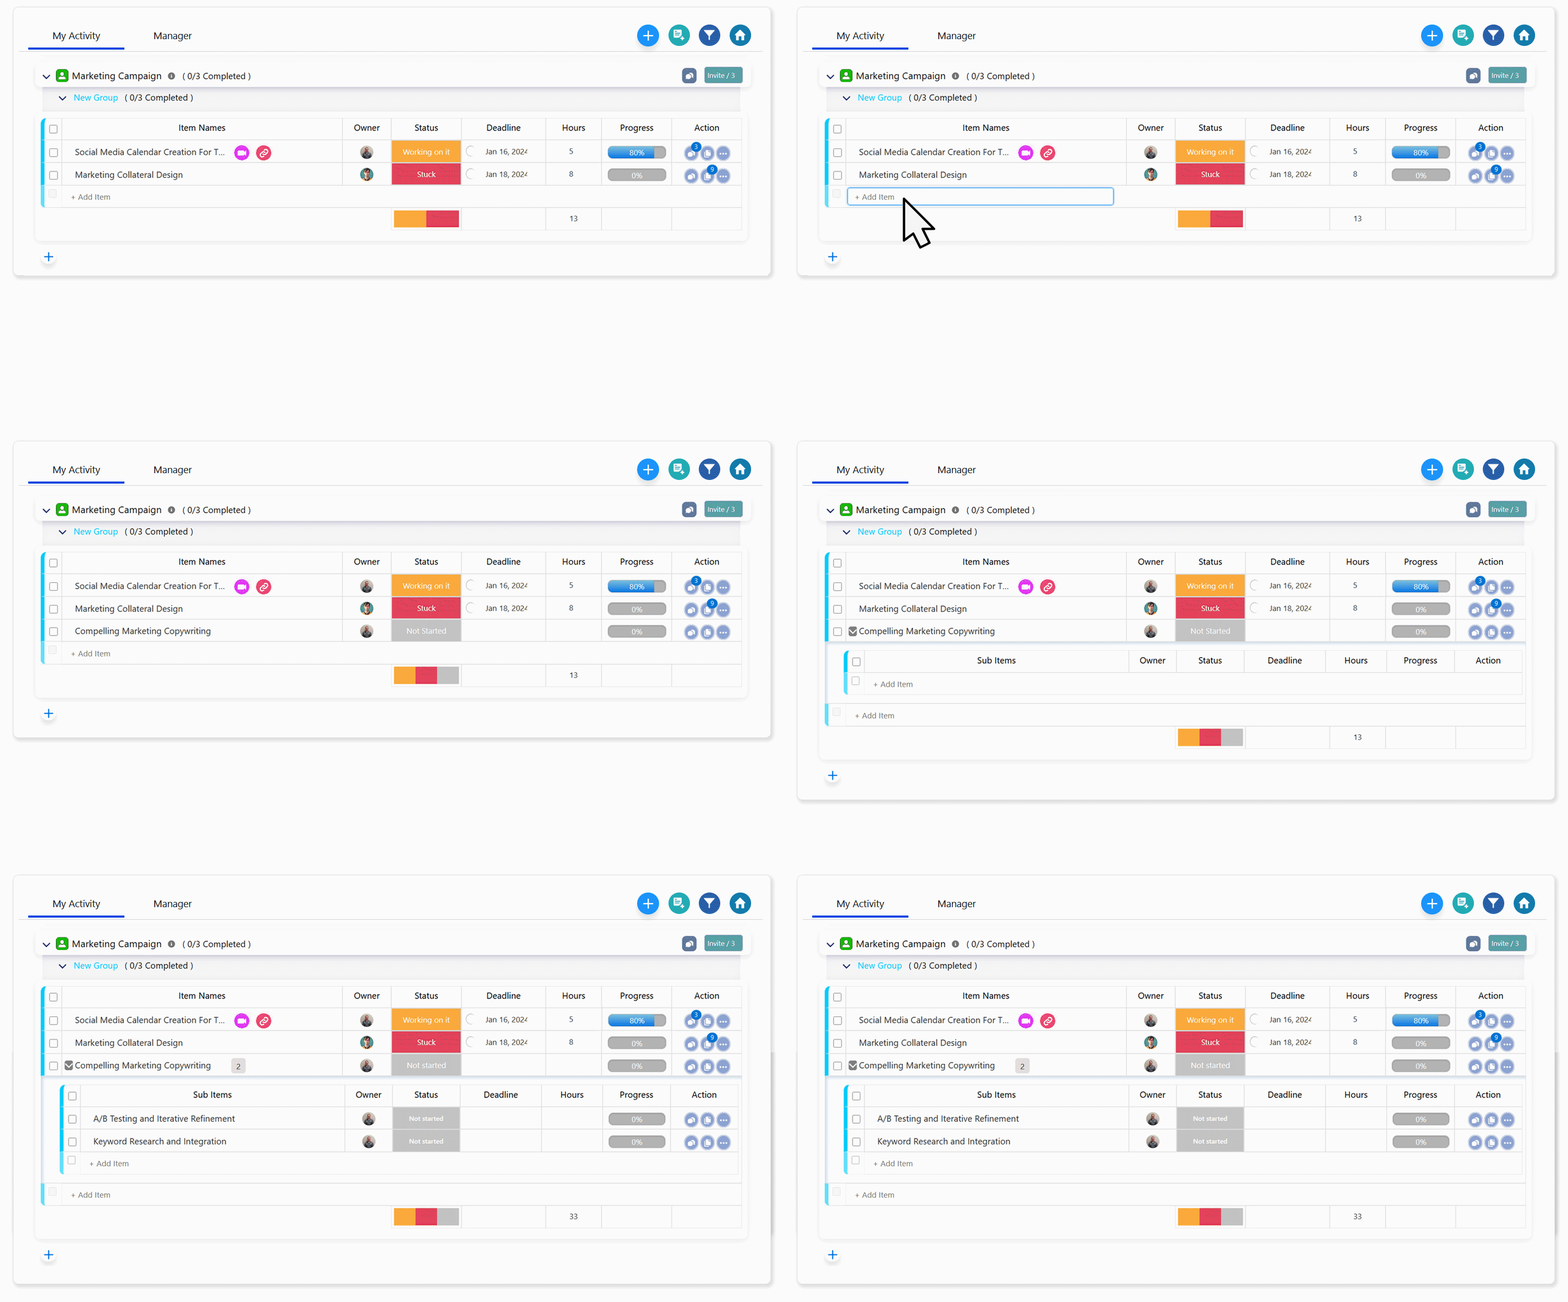
- Adding an Item:
To add a new item to the bottom of a group, click into the box labeled '+ Add item', type the item name, and press Enter on your keyboard. - Adding a Sub-item:
You can also add a sub-item by clicking the arrow '>' icon in front of the item name. This action opens the dropdown row where you can enter sub-items similar to the main items.
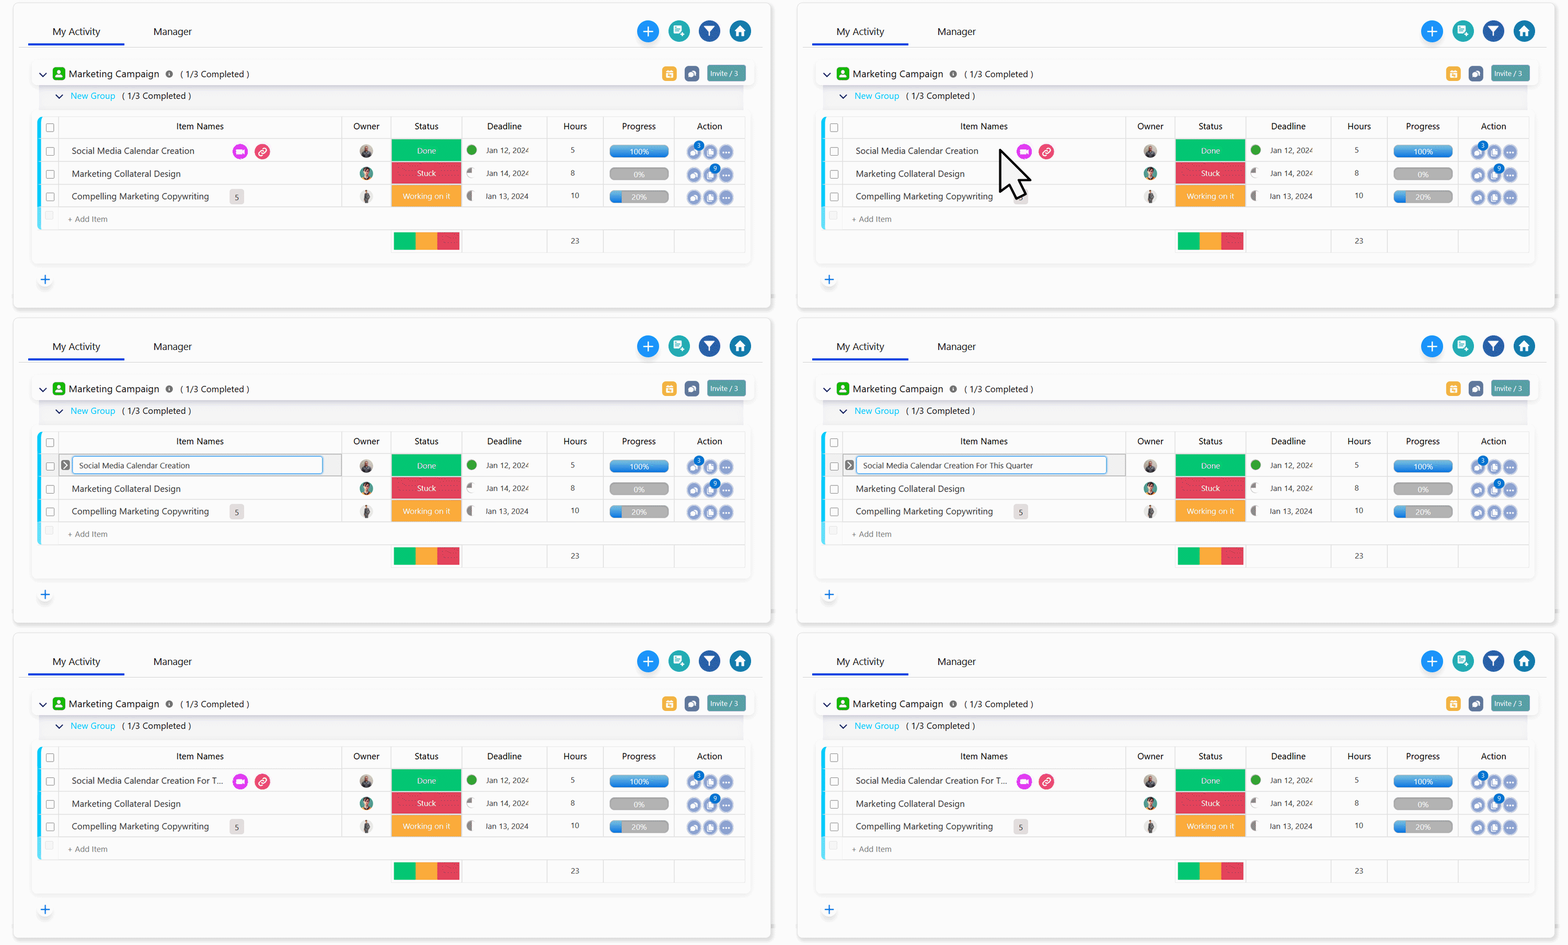
Editing an item
You can edit the name of an item (task or project) at any time. Simply hover over the item name, click on it, and edit as you wish!
Item Columns:
Each item on the board comes with the following columns, in addition to the item names:
- Owner:
Assign or reassign items to any person in your company by clicking on the owner column. A user search will appear, allowing you to choose the desired person who will be responsible for the item. - Status:
Modify the status of the item with options like 'Done,' 'Working on It,' 'Stuck,' and 'Not Started.' Changing the item's status can be done by the item owner or board owner, and the board should be in an active status. - Deadline or Timeline:
a.Set deadlines or timelines for items based on board settings. Choose between board-based deadlines or timelines. - Hours:
a.You can enter the specified time required to complete the item. - Progress:
a.Enter progress, a function available to both the board owner and the item owner. - Action Menu:
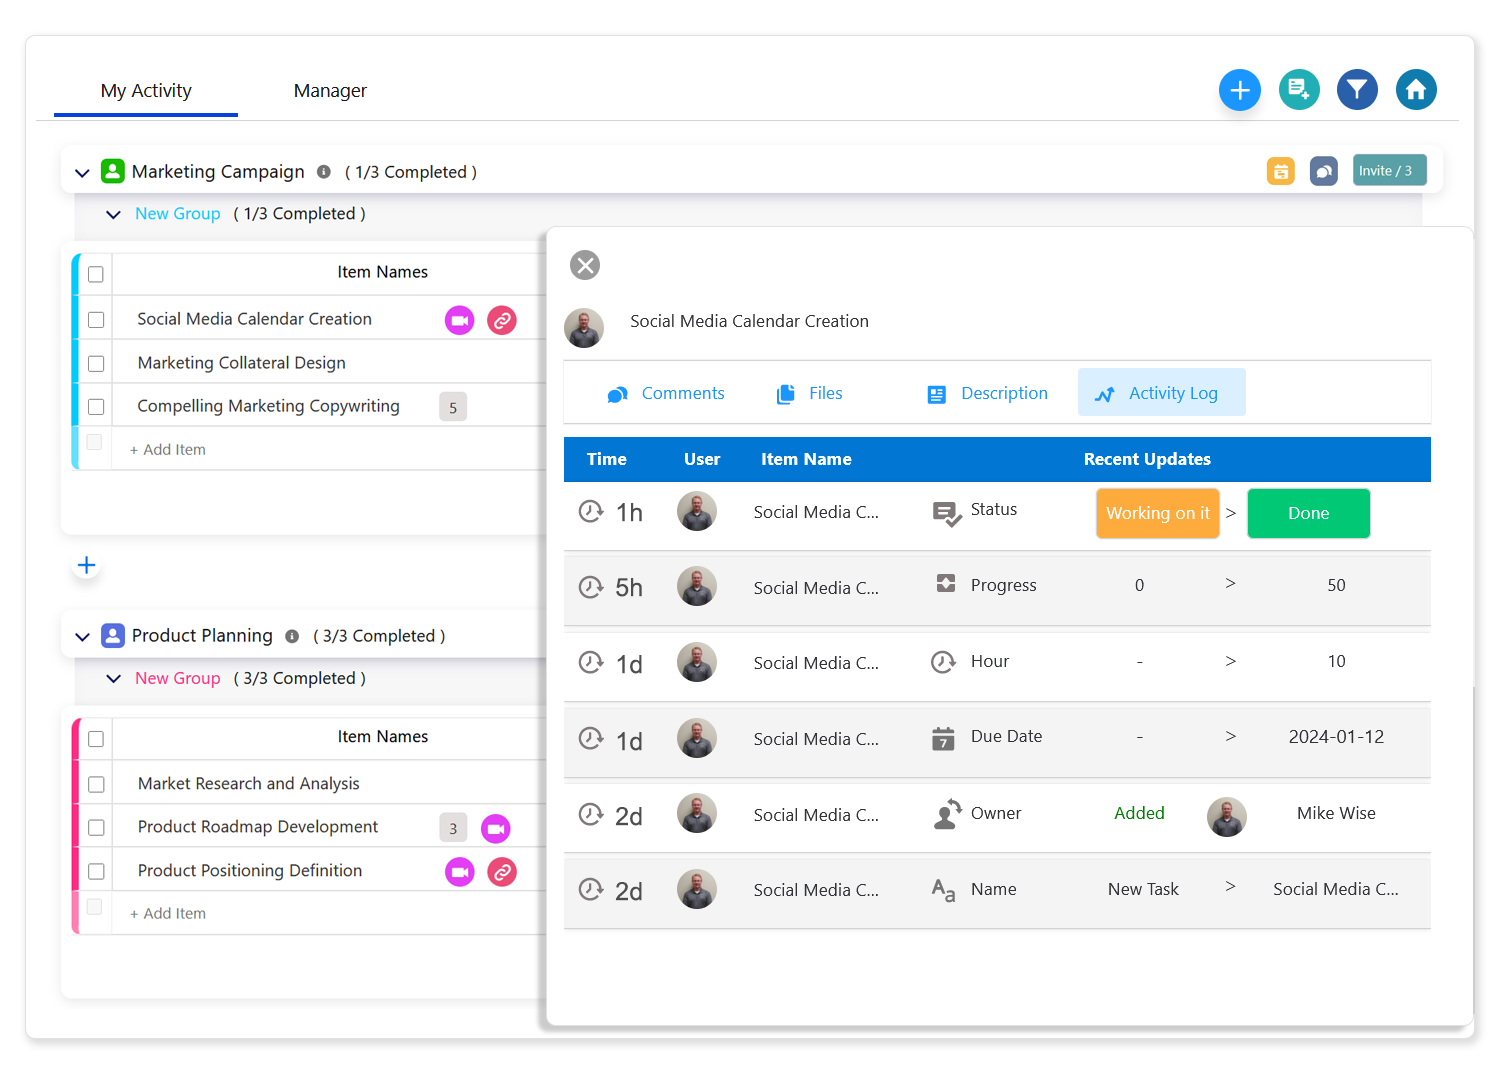
The Action menu provides various functionalities for item:- Comment
- Description
- File upload for the task
- Clone
- Delete
- Create sub-item
- Video link
- URL link
- Activity log
